The beauty of the Raspberry Pi is the millions of things you're able to do with it. From a custom DIY webserver to a home surveillance system, from physical computing to the topic of this post: timelapse photography. I became interested in the Raspberry Pi when it came time to purchase my home. I wanted a DIY home surveillance system without exorbitant subscription costs or contracts, and the ability to fully customize it in any way I wanted. I came across PyImageSearch and the amazing collection of tutorials (this one in particular)
That was my introduction to the Raspberry Pi and it's camera module, and the timelapse idea came from a construction project next to my employer's office space. Creating a timelapse with the Raspberry Pi is incredibly simple, and you don't need 100's of dollars worth of fancy equipment.
Items Required
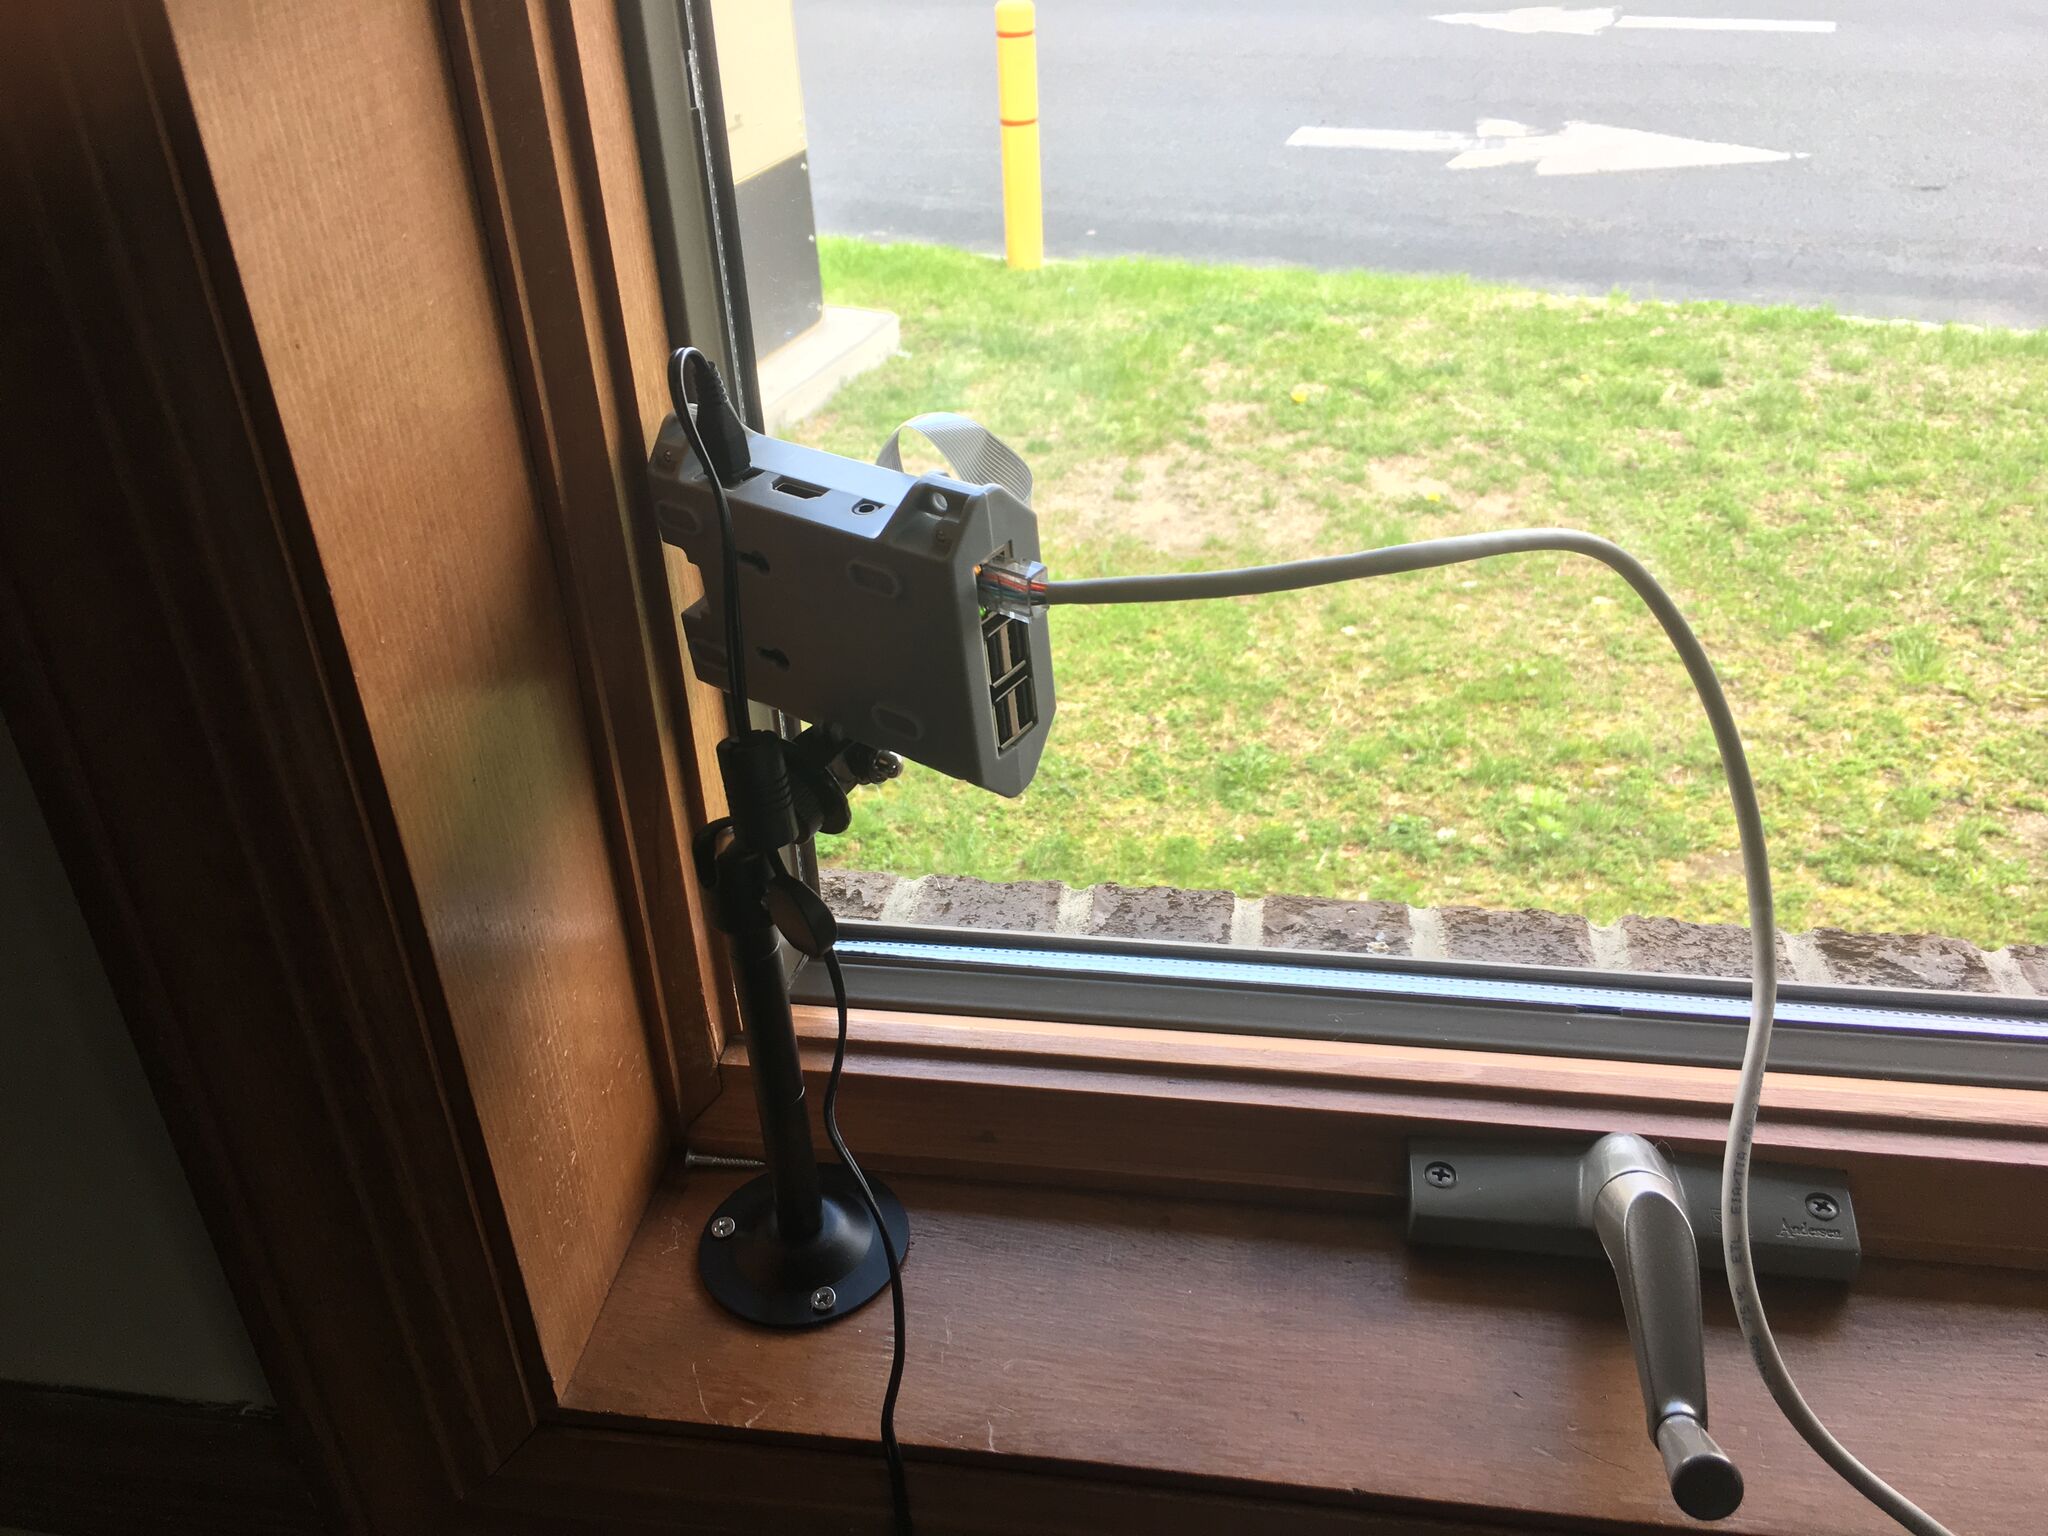
- Raspberry Pi (duh!). I purchased the kit which includes two heat sinks and the power supply
- Raspberry Pi Camera
Considerations
Once you have your Pi up and running and the camera tested and working, it's time to code your time lapse program. Depending on your subject, you want to consider a few things before beginning your timelapse project.
- Frequency of pictures: are you doing a time lapse of a 12 month construction project? Snow melting and the leaves turning green? Or just some general foot traffic of humans in a park? For each scenario, you need to decide how many pictures to take a [minute, hour, day, etc.]. This timelapse calculator can help you decide how many pictures to take, considering also the filesize and length of your timelapse. Be mindful of your audience, and that a two minute timelapse can have the same wow factor has a five minute one.
- File size and memory: If you use generic settings with your camera and you only have an 8gb or 16gb SD card, you may run into storage issues if you take a lot of pictures. For this project, I used a 128gb SD card, which had to be formatted in a particular way to work on the Raspberry Pi .
- Backups: You may want to backup your images on an hourly/daily/weekly basis. I've come across enough ocmments on the web about SD cards failing in the Raspberry Pi, and you certainly don't want a failure for something like this. For this project, all images are saved locally to the SD card of the Pi, but also uploaded to my Dropbox account via the Dropbox Python API. Of course, a free plan may not give you enough memory, but I happily started paying for Dropbox (1TB) a few years ago and have never regretted it.
- Notification: Will you be checking in with the progress of the timelapse every day? If not, you may want to be notified when/if problems have occurred--mainly if the camera is taking pictures or not. With Twilio SMS, you can add text message notification when the program has started and stopped taking pictures. If on any given day you don't recieve the text, you'll know something's up and you should check things out.
Setup
OK, so you've decided you want to take one picture every 30 minutes, only during day time hours. Let's start with our Python code broken up into chunks here with some comments in between.
#!/usr/bin/python
# Camera.py
import datetime
import time
from picamera import PiCamera
import dropbox
from twilio.rest import Client
You'll need to install the dropbox and twilio modules with pip install dropbox twilio and import them accordingly.
twilio_id = "YOUR_TWILIO_ID"
twilio_auth_token = "YOUR_TWILIO_AUTH_TOKEN"

try:
  client = Client(twilio_id, twilio_auth_token)
  client.api.account.messages.create(
      to="+RECIPIENT",
      from_="+YOUR_TWILIO_NUMBER",
      body="Time Lapse has begun!")
except:
  pass
The above will send you a "Time Lapse has begun" text message at the beginning of the program. This is a one time notification and we throw it in the try/except - pass block. In case that piece doesn't work, it won't compromise the rest of your code. If you don't plan to use the Twilio SMS notification, simply remove the entire lines above. I believe Twilio gives you some free messages, but not sure of the limitations.
camera = PiCamera()
Instantiate the PiCamera class and name it camera.
dbx = dropbox.Dropbox("YOUR_SECRET_KEY")
Create your Dropbox object, replacing "YOUR_SECRET_KEY" with your own key.
And, finally-- the rest of the program:
counter = 0
while True:
  counter += 1
  timestr = time.strftime("%Y%m%d-%H%M%S")
  camera.resolution = (1920, 1080)
  #camera.hflip = True # If your camera is upside down
  #camera.vflip = True # If your camera is upside down
  pic = camera.capture("/home/pi/TimeLapse/" + timestr + ".jpg")
  #Upload to dropbox
  try:
    dbx.files_upload(open(pic, "rb").read(), "/TimeLapse/" + pic)
  except:
    pass

  if counter > 16:
    client.api.account.messages.create(
    to="+RECIPIENT",
    from_="+YOUR_TWILIO_NUMBER",
    body="Finished taking pictures!")
    break
  else:
    time.sleep(1800)
So now we have a python script that will take a picture every 30 minutes for 12 hours. But how do we get this script to run on a daily basis and only during daylight hours? There are a few options, but the easiest is with a Cron Job. Open up a terminal and type crontab -e and enter the following at the bottom of the file:
0 9 * * * /path/to/python /path/to/TimeLapse.py > /tmp/listener.log 2>&1
Ctrl + x, then y and hit Enter to save. Now, the program will execute every morning beginning at 9am.
The Timelapse
A few [hours, days, months] have gone by and you have amassed hundreds of images. So how do we turn them into a timelapse? There's a variety of tools, free and paid, that can do timelapses from a sequence of images. But if you're like me, you don't want anything fancy. So we will create our timelapse with the FFmpeg program. FFmpeg is a free, command line multimedia tool.
But before we dive into FFmpeg, we first have to turn all of our images into a sequence as all of our images are named 20180413-103002.jpg. WIth another python script, we can rename all of the images in bulk:
import os
_src = "path/to/your/images/"
_ext = ".jpg"
for i,filename in enumerate(os.listdir(_src)):
    if filename.endswith(_ext):
        os.rename(filename, _src+'Image-' + str(i).zfill(3)+_ext)
This will result in filenames of Image-000.jpg and Image-001.jpg and so on.
Now, we can finally use FFmpeg to create the timelapse. Open up a terminal and cd into the directory where your newly renamed images are. In the prompt, enter the following:
ffmpeg -i Image-%3d.jpg output.mp4
An MP4 will be created from all of your images! Have a look at the FFmpeg documentation for filters, codec options, framerate, and resolutions, to name a few.
Post Production
Wait, did I really just say "Post Production" like I'm some kind of film-maker? Ha! Well, there's really no other way to describe the work that goes into the editing and making the timelapse all that it can be. If you're already into graphic design, it's likely you have Adobe Premiere and the rest does not apply to you. But for 'jo-shmo like me, I just want to be able to do a few simple effects to give my timelapse some nice finishing touches.
OpenShot
OpenShot is free, open-source video editor. It's incredibly simple to use, especially for newbies, and it's built using Python, to boot! Head on over to OpenShot.org and download the newest version. It has a tutorial once you launch it, and there are some great video tutorials on YouTube. For my project, I'll add some simple fade-in/fade-outs, as well as some zooming and panning to give my timelapse the illusion that the camera was on a track. You can also add titles, music, still images, and so on.
The finished time lapse!:
Comments
comments powered by Disqus